So as an author, how do you know if the illustrator you're hiring is legitimate - or using AI? Well, here's a sneak peek into how I work, and the processes behind how I approach each project. By sharing this, hopefully I'll set your mind at ease.
First things first - once the fee is agreed, I normally ask for 20% upfront upon commissioning, and the remaining fees paid following the completion of Stage 2 as described below -
I've been working remotely since that was a thing. Living on the south-west coast of Wales I was creating animation for Chinese State TV 30 years ago from the comfort of my home. Since then I've worked with dozens of clients overseas and my go-to method of sharing work securely is Dropbox. I set up a project folder and share it with the author, which enables me to effortlessly share my work with clients and allows the project to become a lot more collaborative. After all, my job as an artist is to recreate what you can already visualise in your mind - and that can only happen through good communication.
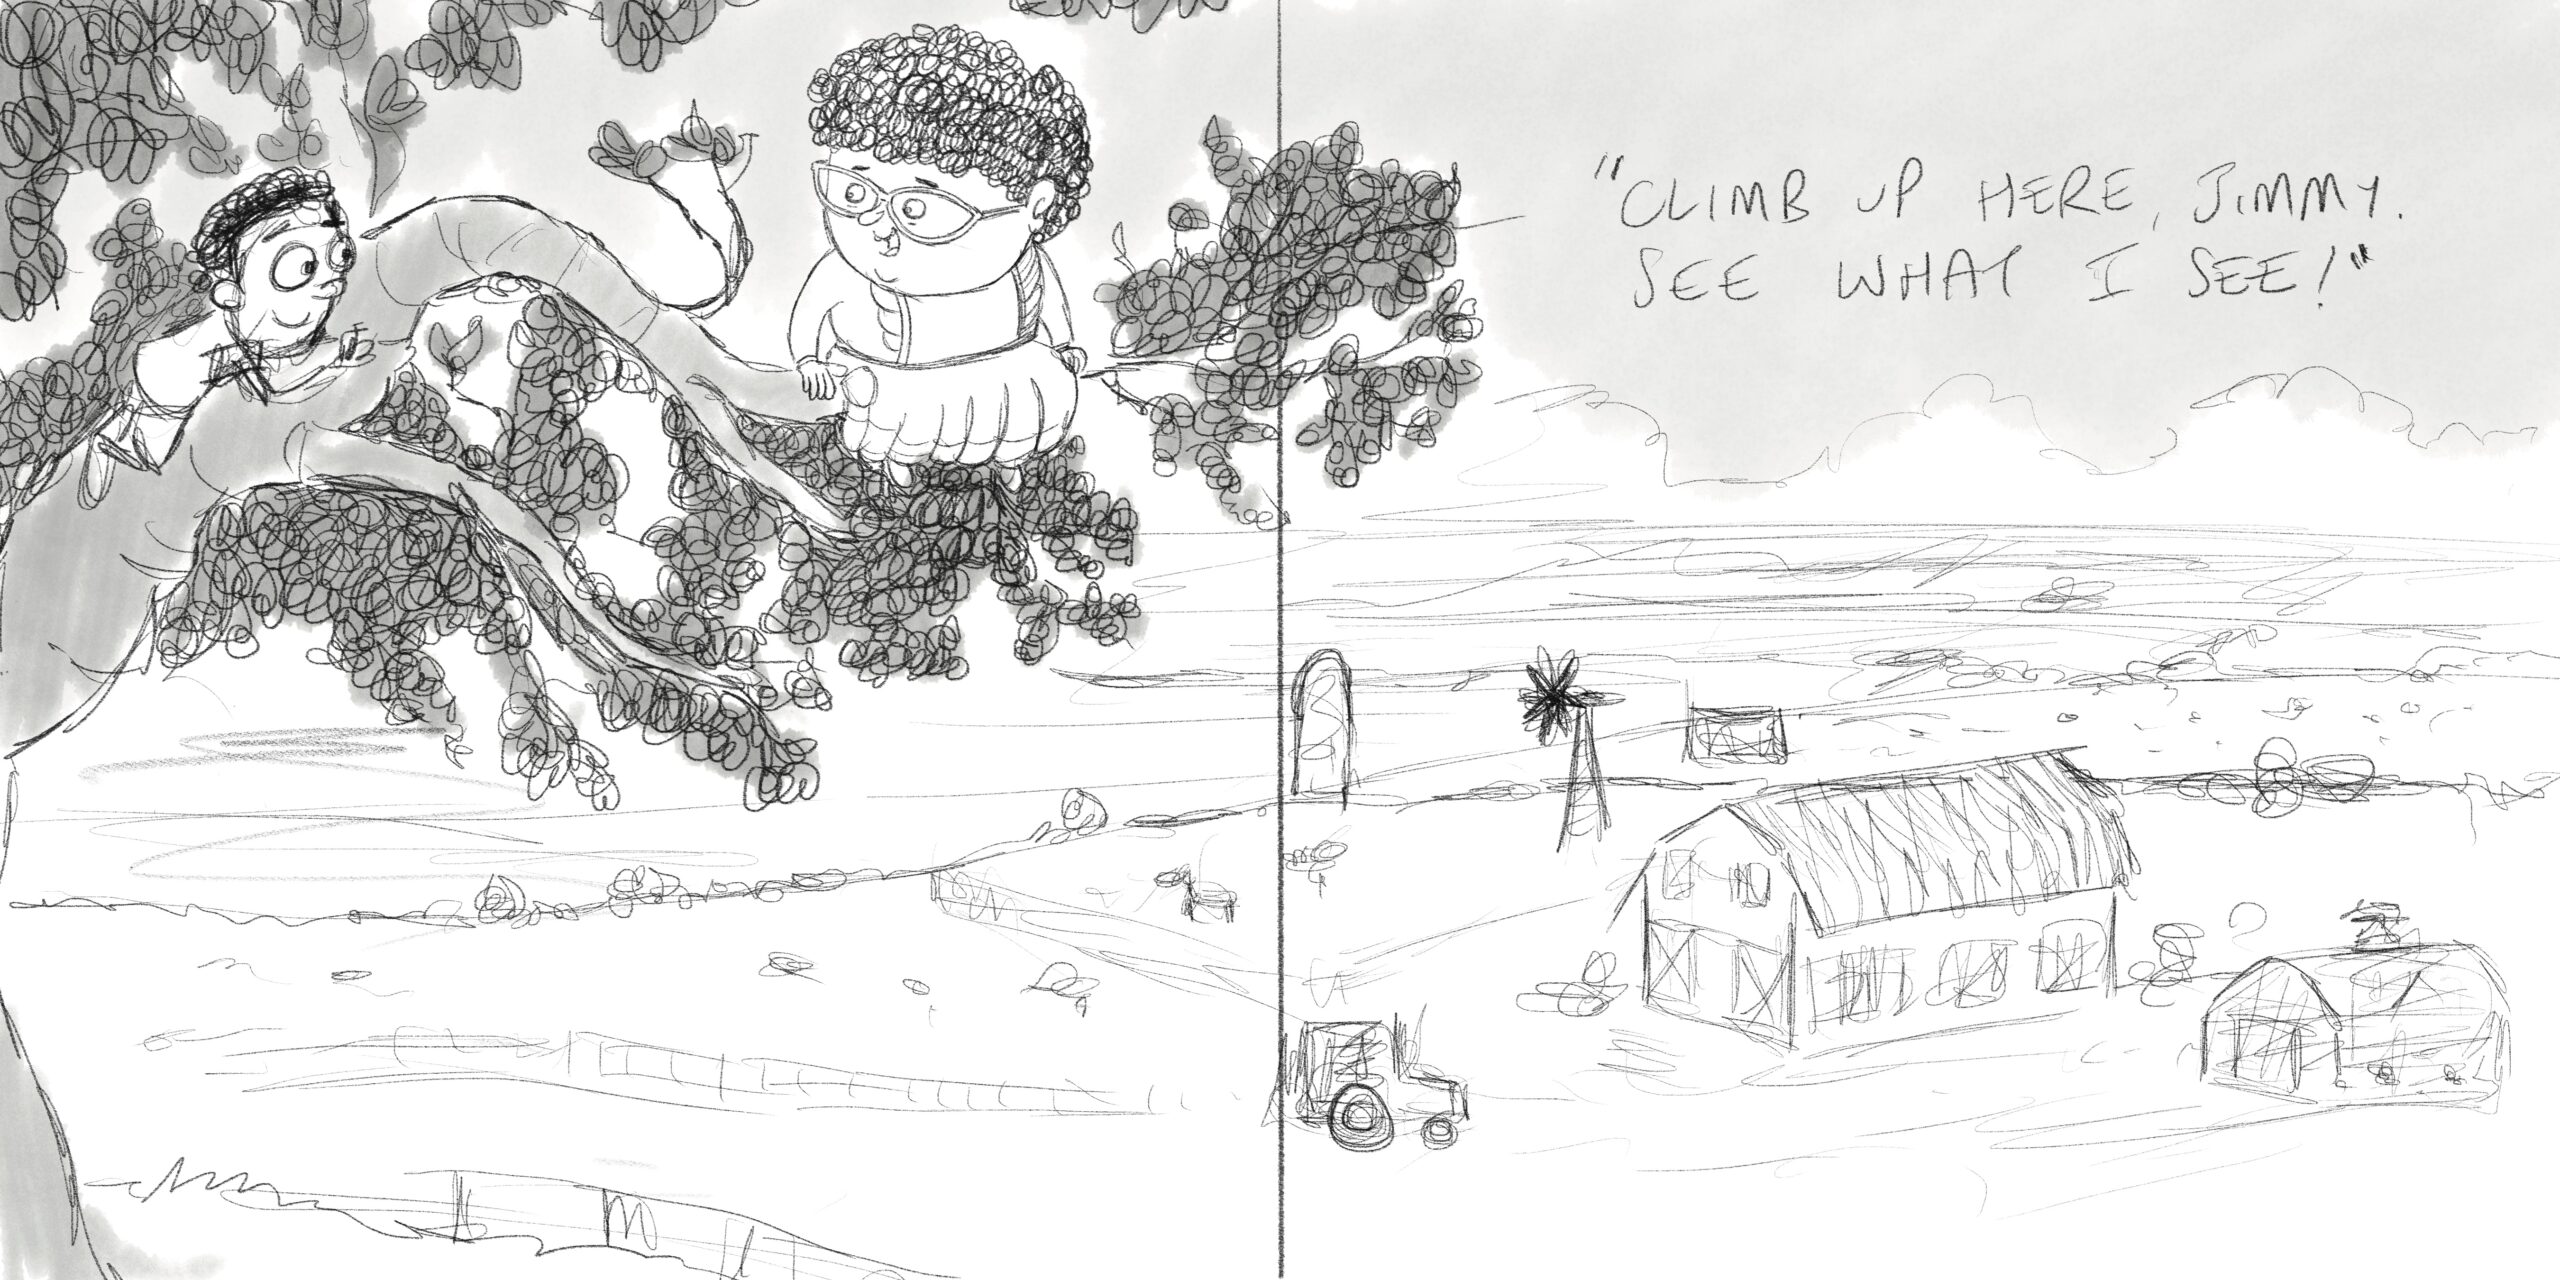
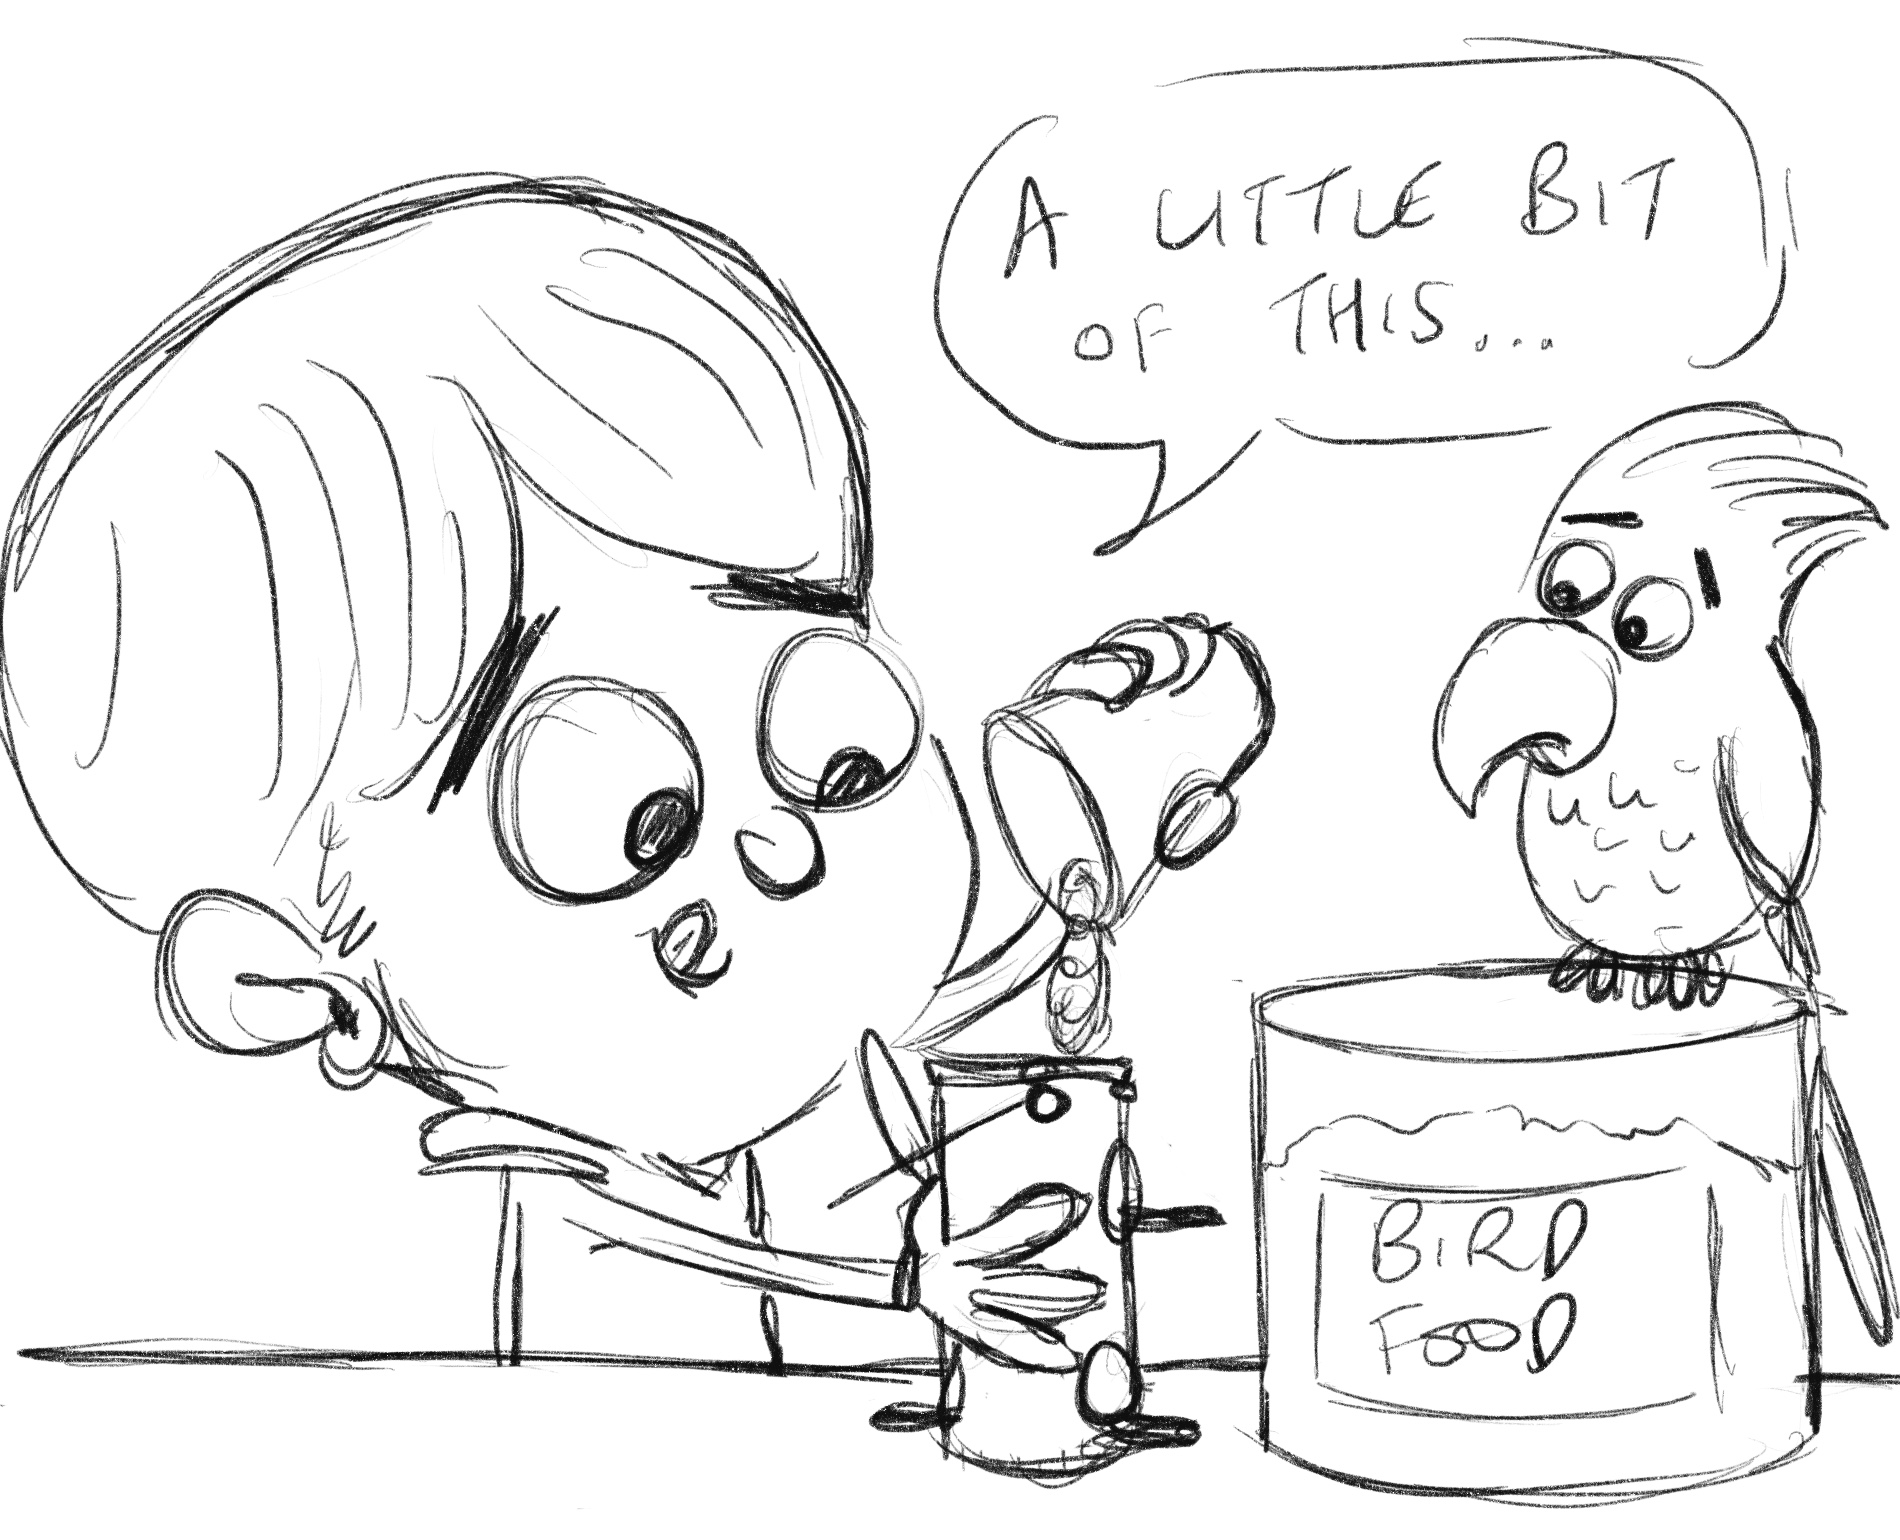
This is where the fun begins. I'll start out by sketching a few different variations of the main character and then you'll either choose one you love, or asks for tweaks. If tweaks are needed, we keep tweaking until you're 100% happy. Sometimes this can take several attempts, and we may well end up circling back to the beginning. At the end of the day all that matters is that you're 100% happy.
Once we're settled on the main character, we'll repeat the process for the others as well. Once all the characters are done, that's when I'll start creating model sheets with the characters in different poses. This helps me get used to drawing them at different angles and really helps bring the characters to life.
Sample text. Click to select the Text Element.

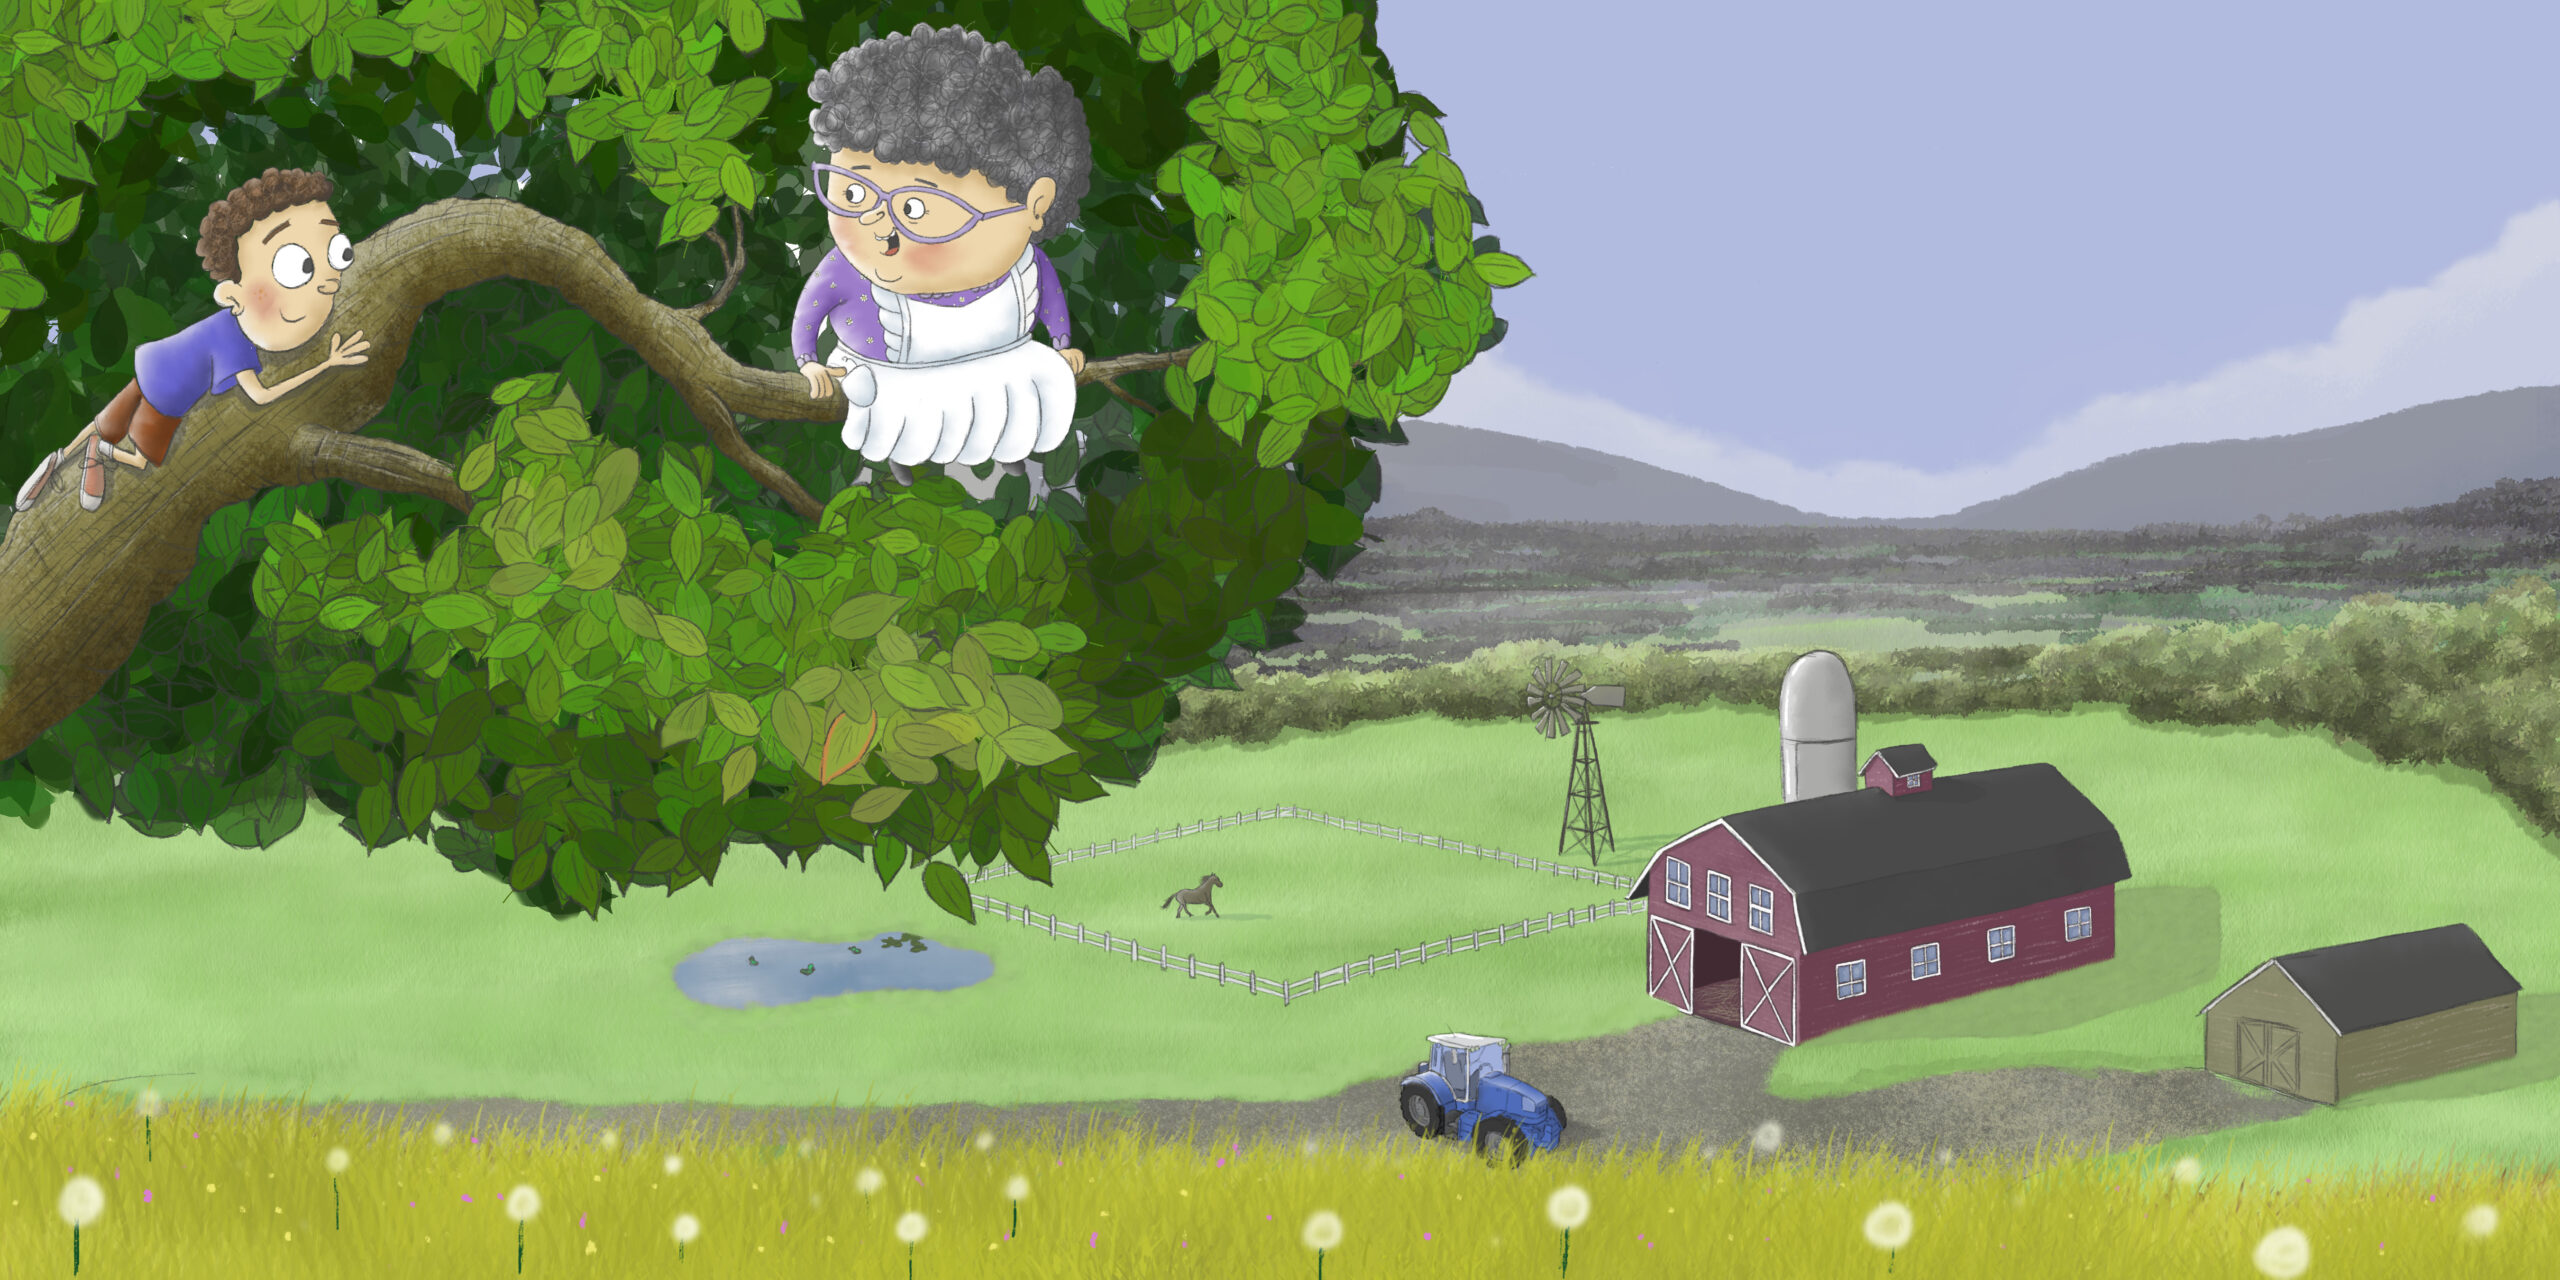
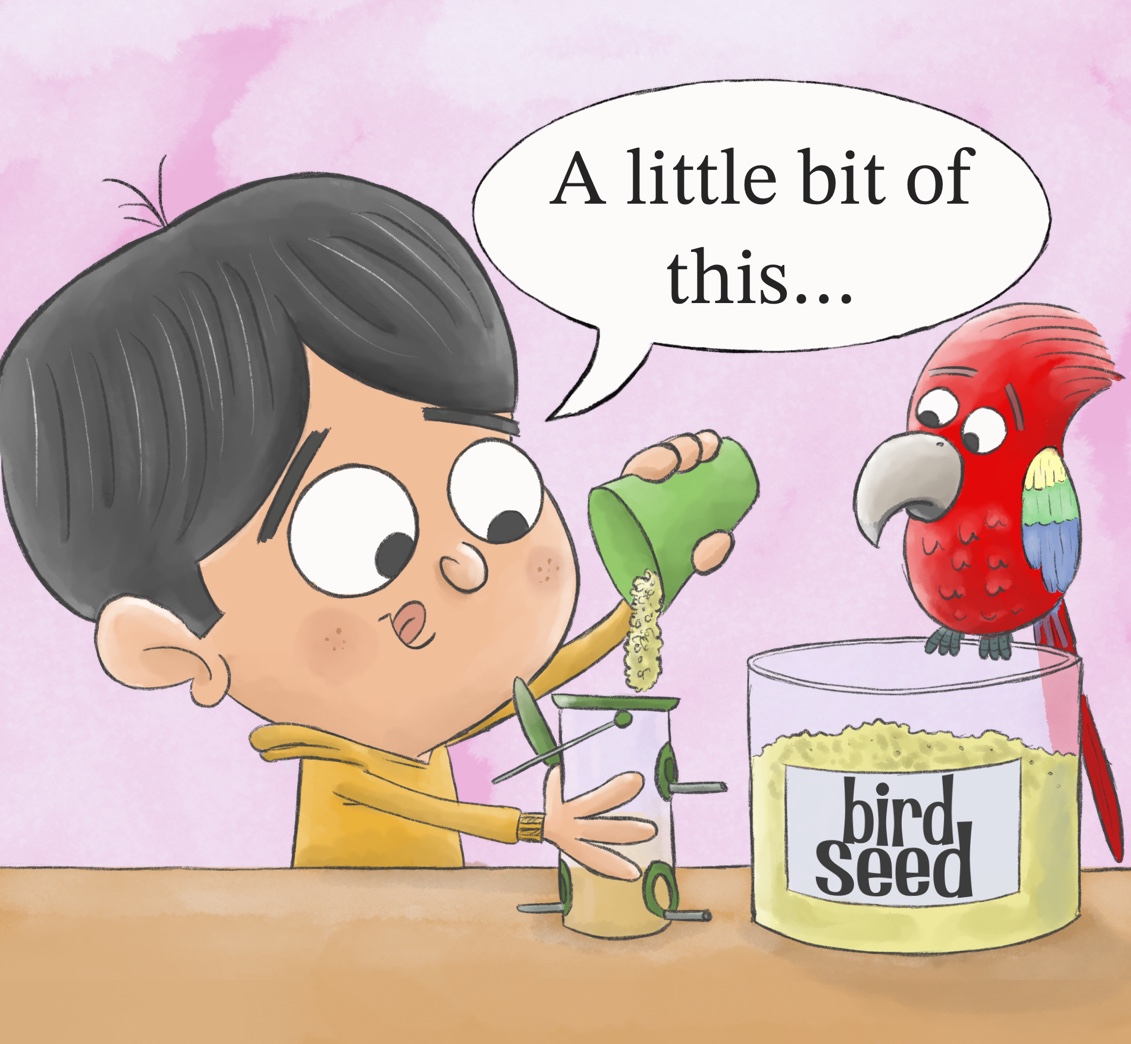
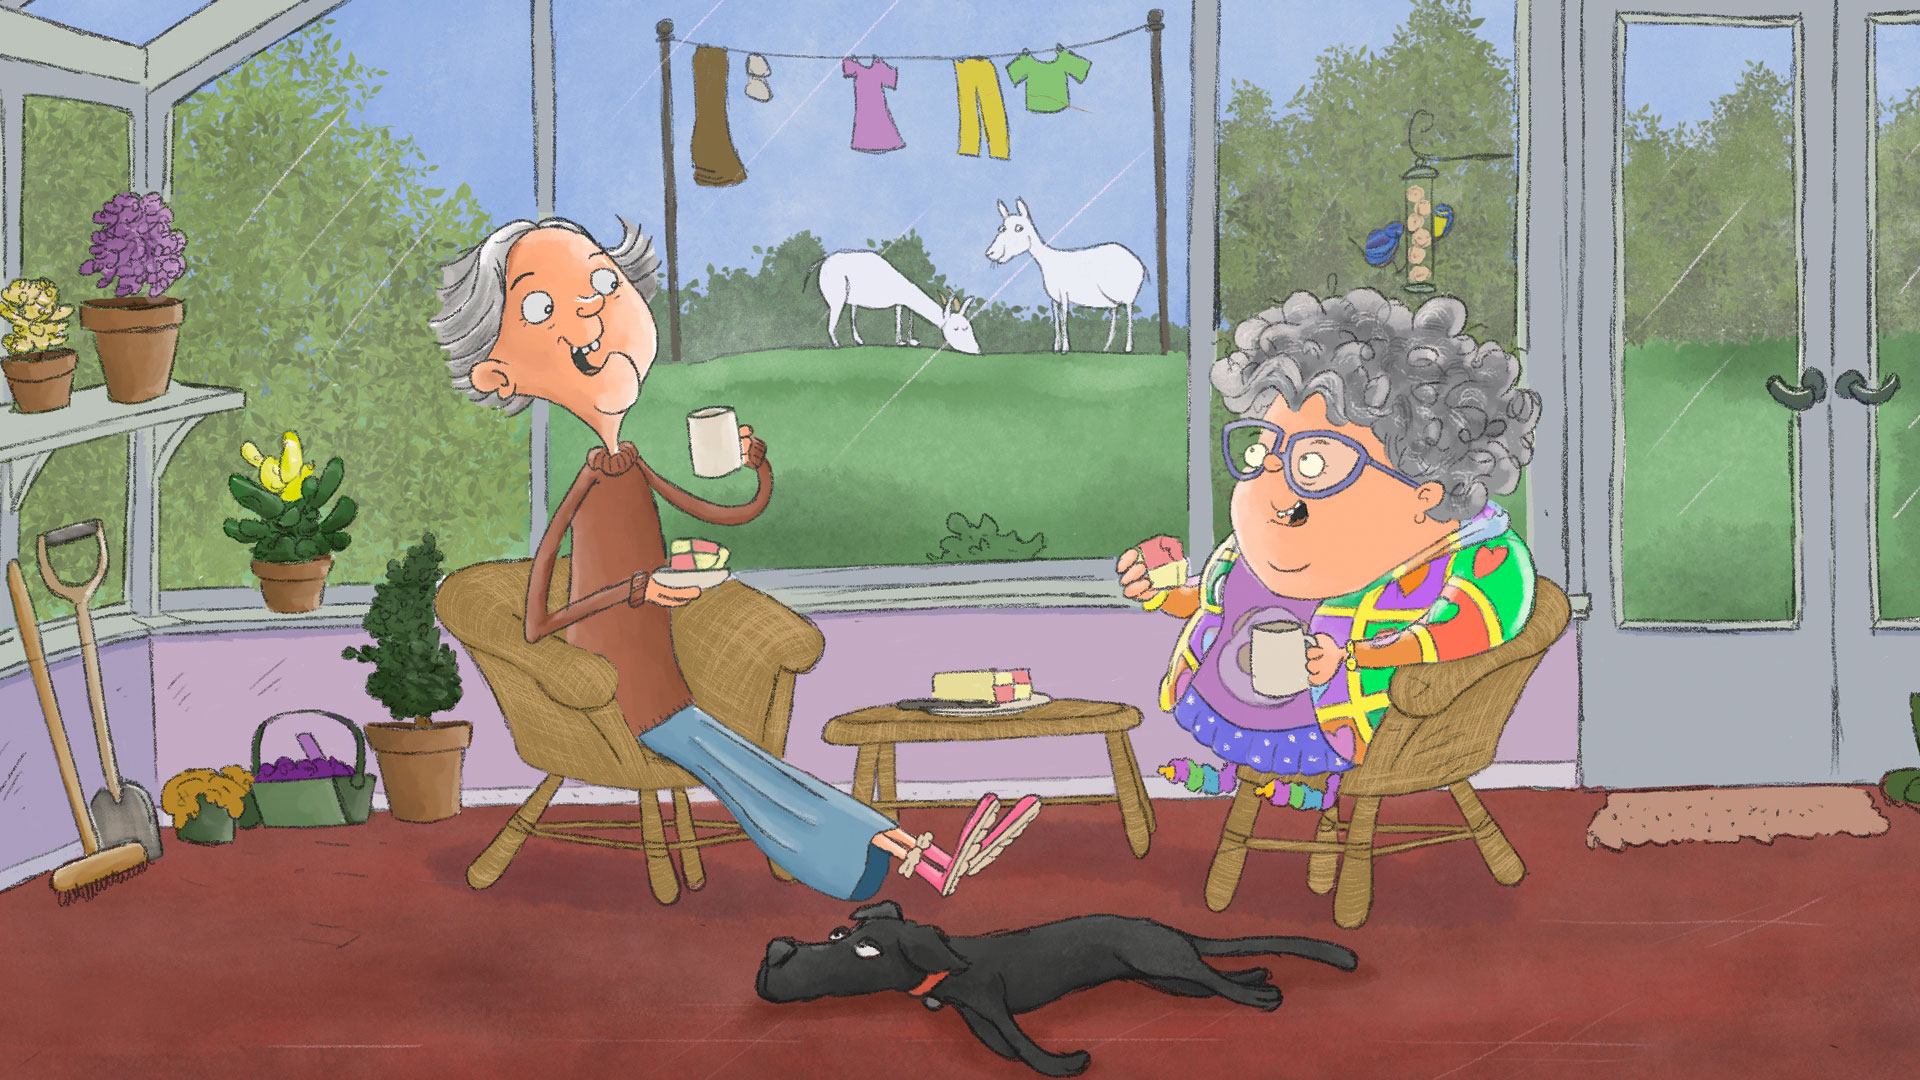
Before I launch headfirst into illustrating the book, I often like to create a full colour illustration as if it were a final piece. This gives me a point of reference to work towards, as often I like to use slightly different techniques which each project I work on. Maybe it's the perfectionist in me, or maybe it's a fail-safe to stop me from just churning work out like a conveyor belt. Either way, you get to have a taste of what we're working towards - and it's a great tool for social media as you can start spreading the word and building excitement. Again, this is where collaborating is key. If there's anything you want to change, or you say 'I prefer the look of what pencil you used in a different project' that's fine too. I'm not going to have a hissy fit - honest!
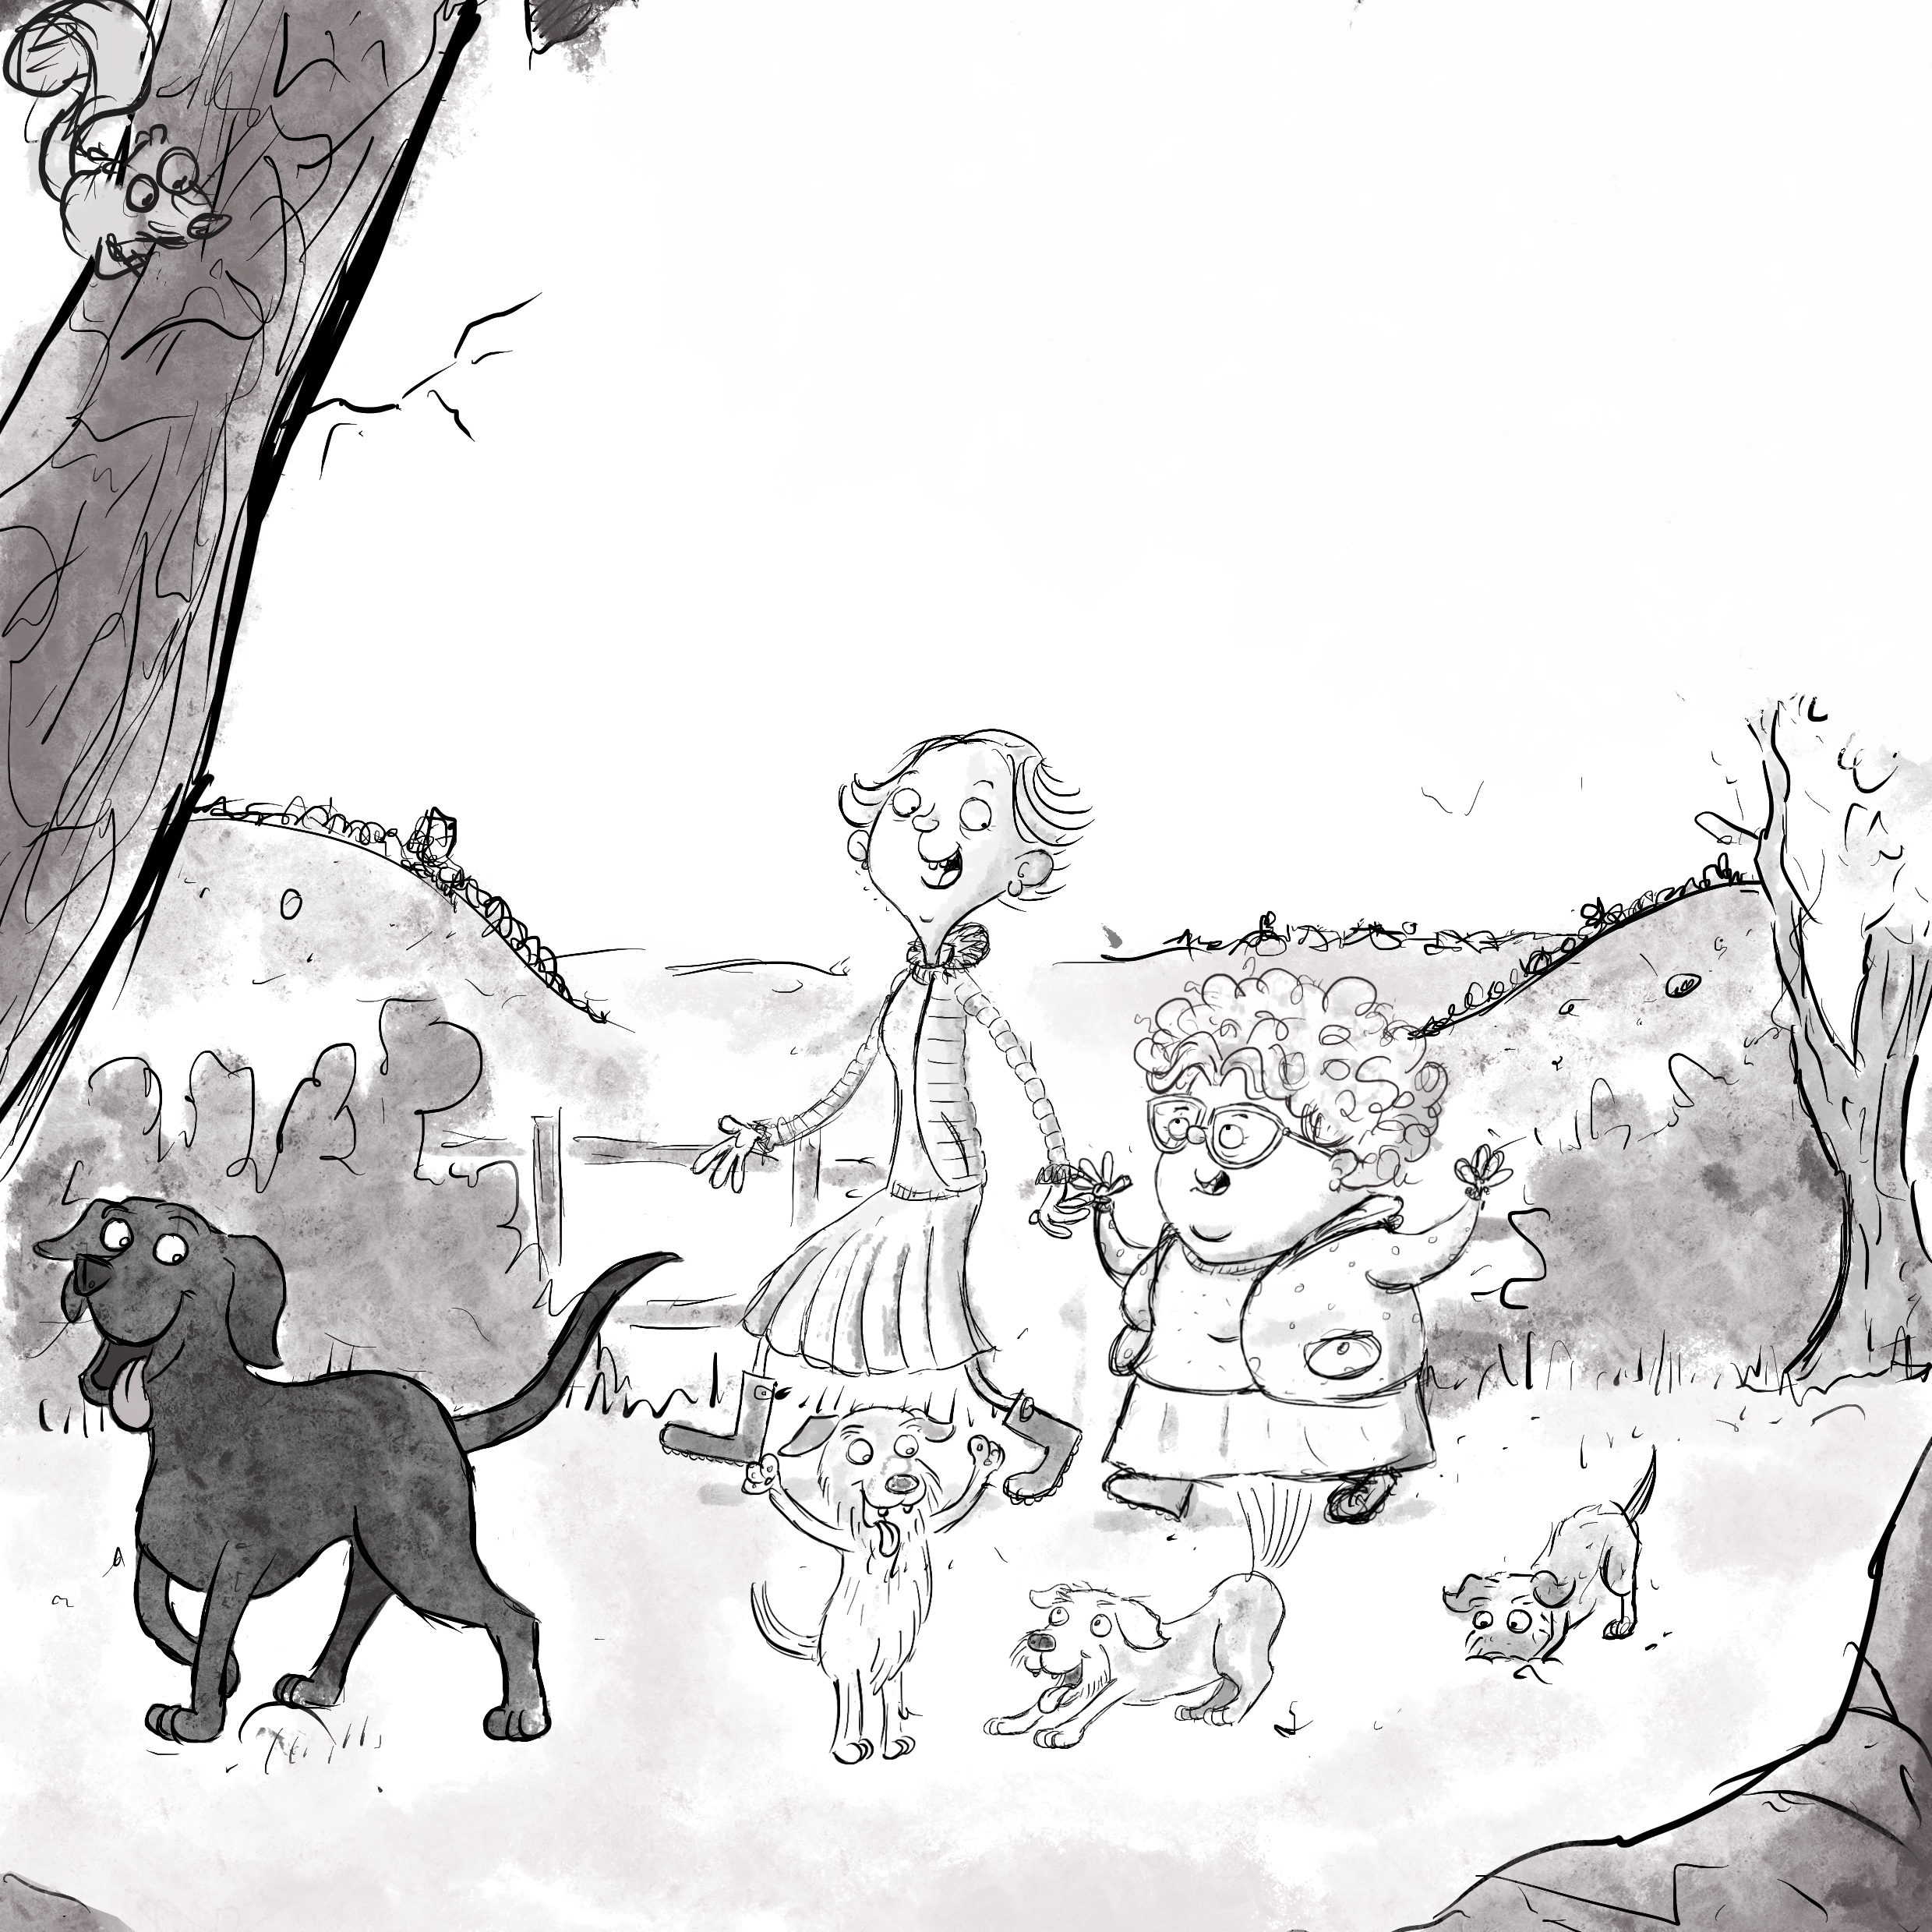
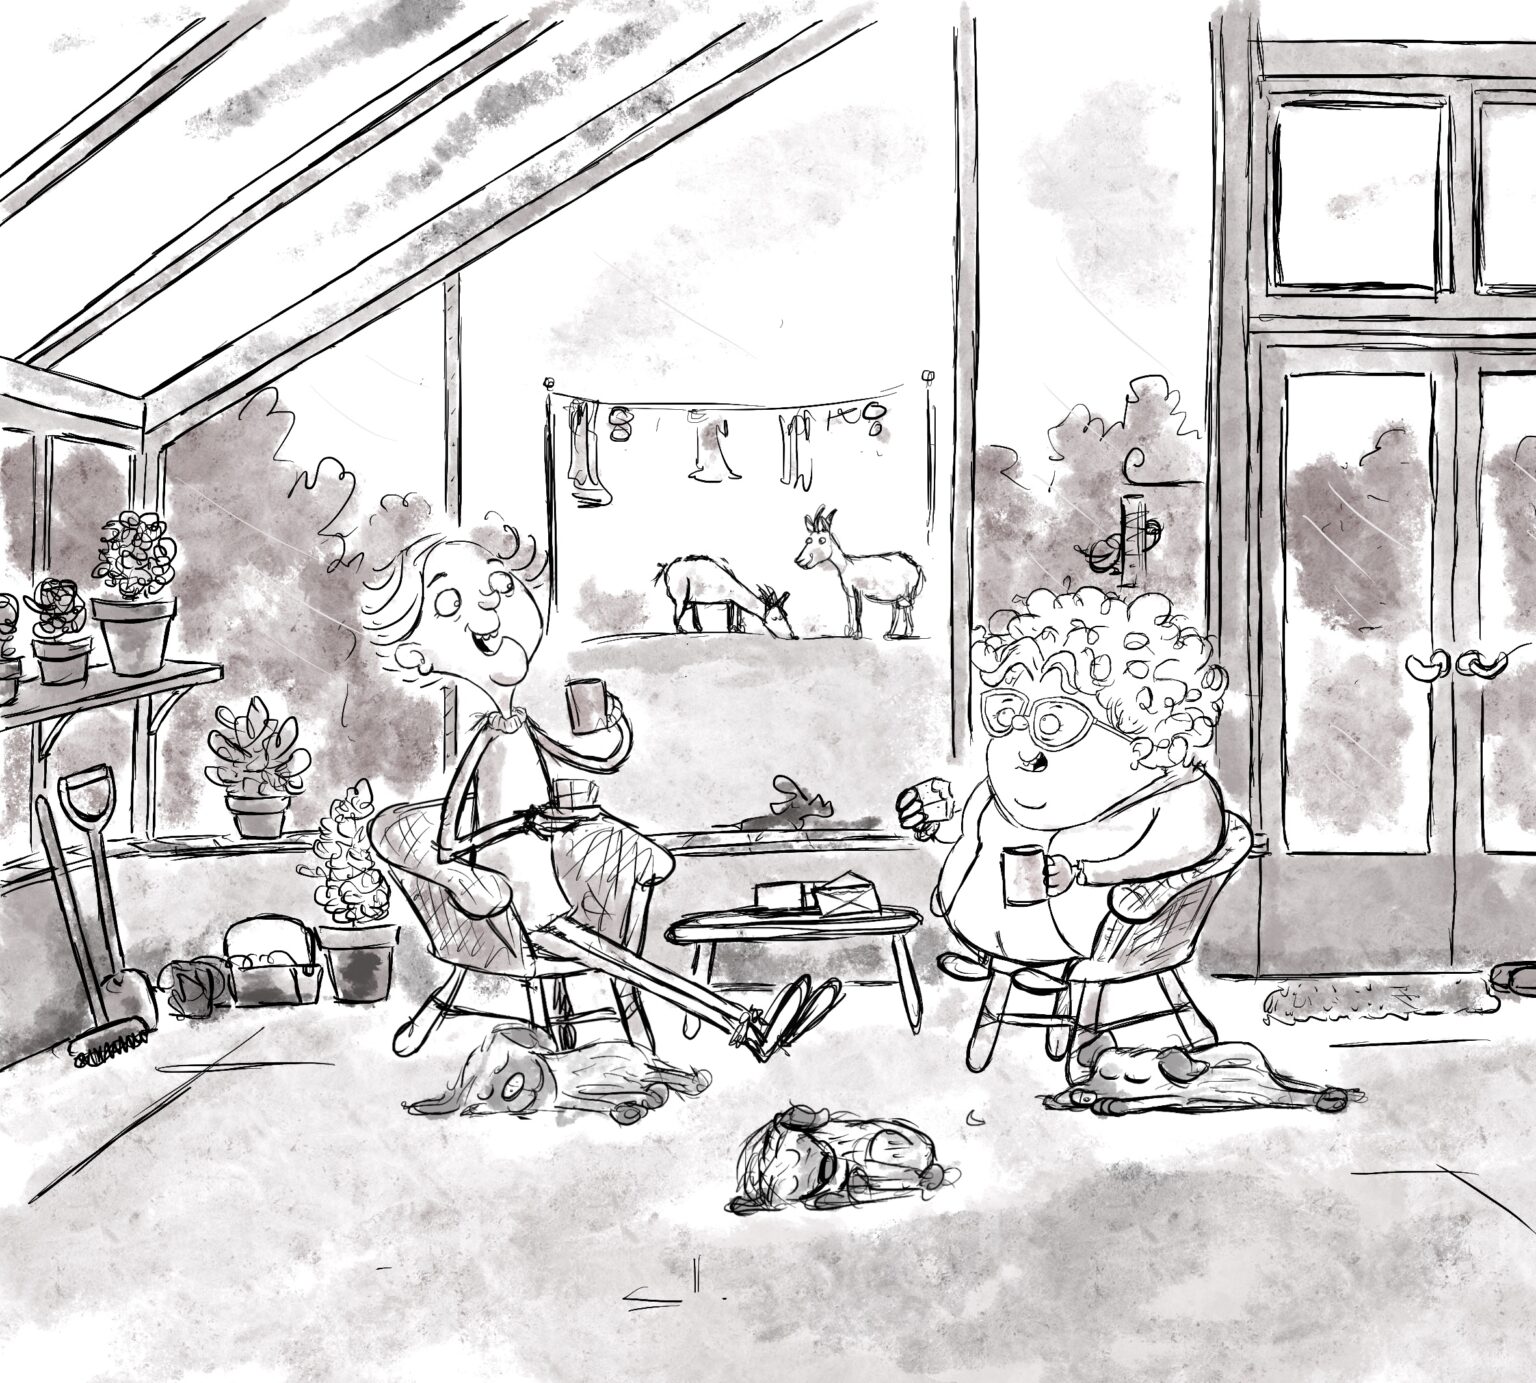
Now's when I start sketching out each illustration until all of them are complete. Once complete, I then start building the actual book using Affinity Publisher, and then export the whole thing as a PDF so that you can see how the illustrations and the text will flow from start to finish. This will also enable us to make any adjustments ready for me to start the final illustrations...
Creating the final illustrations is the bit where I tend to lock myself away in a darkened room and shut myself off from the world. This is the labour-intensive bit, but it's still an awful lot of fun. Bear in mind that I've been drawing a LONG time, but I still get moments where I amaze myself and think 'Wow! That looks amazing!' Actually, that happens a lot - and that's why I really enjoy it!
While I'm beavering away, YOUR homework will be to choose a font for the final typography, and if you're self-publishing you'll also need to get an ISBN or two - one for softback and one for hardback versions.
Then, once each illustration is done, I then pop these into the Dropbox for you to review and I can tweak them if needed. We repeat this process until all of the illustrations are done , and then it's onto...
This is the bit where we go back to Affinity Publisher and swap out the sketched versions of the internal pages and insert the final illustrations. I'll use your chosen font to create the typography (which is just as vital as the illustrations) so that it's not just plain text plonked on the page, but enables the reader to be caught up in the fun/drama/emotion (as well as pace) of the story. I'll do exactly the same with the front/rear covers as well, including adding the ISBNs to each version of the cover.
Again, these will be exported as a PDF for you to review. Once any further tweaks have been done, and you're 100% happy, I'll then export these to create hi-res versions (at least 300 dpi) for Amazon KDP or for commercial printers. This is usually a large file size, which is why Dropbox is perfect for this kind of thing.
If needed, I can help you upload the files to Amazon KDP as it can be a bit fiddly sometimes.
And that is essentially that. No trace of AI anywhere in my process, and hopefully you'll gather that it's a very collaberative process where your ideas/feedback play an essential role. After all, this is your baby and my job is just to help bring it to life.
I hope that helps, but if you have any questions, you can always ping me a quick message. Diolch!